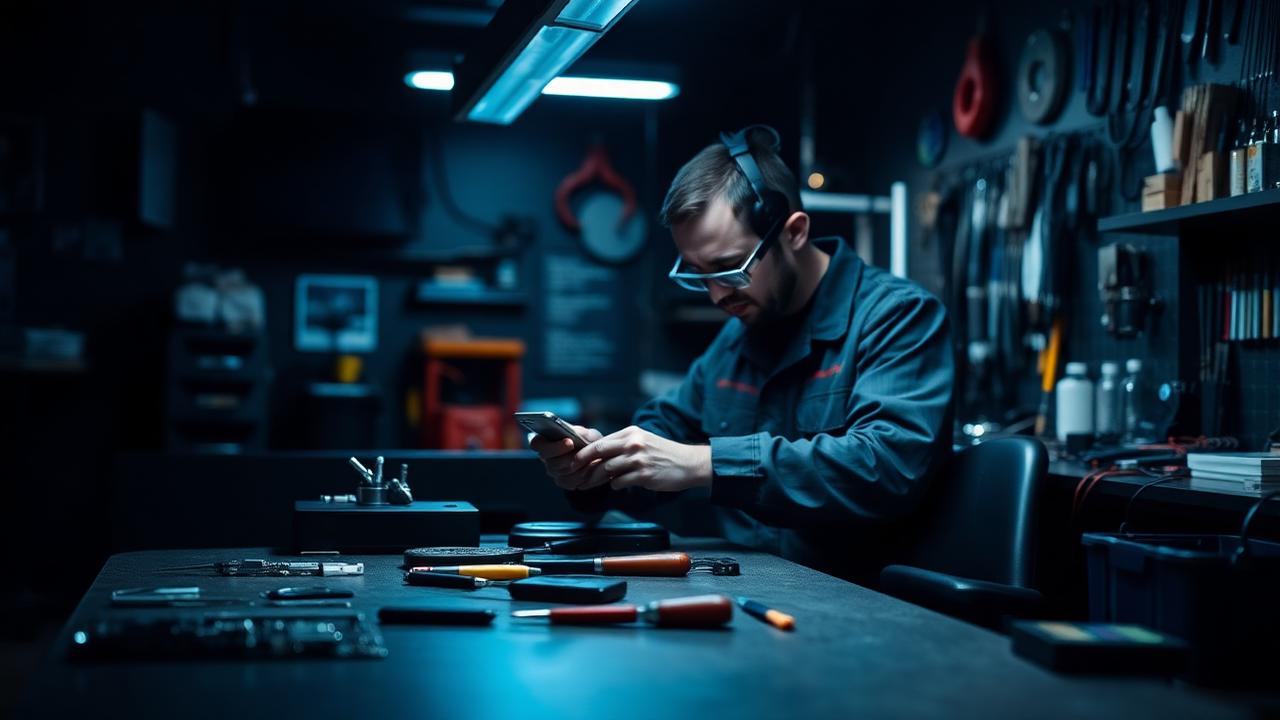
Screen replacement is the bread and butter of nearly every repair business. Done properly it takes well under an hour and produces a device the customer cannot distinguish from new. Done carelessly it produces callbacks. This is the shape of the process — the detailed, model-specific work is what we teach live.
1. Intake and diagnosis
Test everything before you open the device: touch, display, cameras, speakers, mics, Face ID, charging, and buttons. Document existing damage. Never inherit a fault you did not cause.
2. Preparation
Discharge the battery to a safe level, power down, remove the bottom screws, and apply controlled heat to soften the perimeter adhesive. Patience with heat and picks prevents cracked frames and cut flex cables.
3. Safe disassembly
Open along the correct hinge for the model, disconnect the battery first, then the display connectors under their shield. Map every screw — different lengths in the wrong hole cause permanent board damage.
4. Component transfer
Modern displays require careful transfer of components and, on many models, programming so features report correctly. Skipping this step is what produces those warning messages customers notice a week later.
5. Test before you seal
- Full touch and multi-touch across every edge
- Brightness, auto-brightness, and color behavior
- Front camera, earpiece, proximity, and sensors
- Charging and battery health reporting
6. Seal, clean, and hand off
Replace the perimeter adhesive, clean the device properly, and walk the customer through the test yourself. That thirty-second demonstration is the reason people leave reviews and send friends.